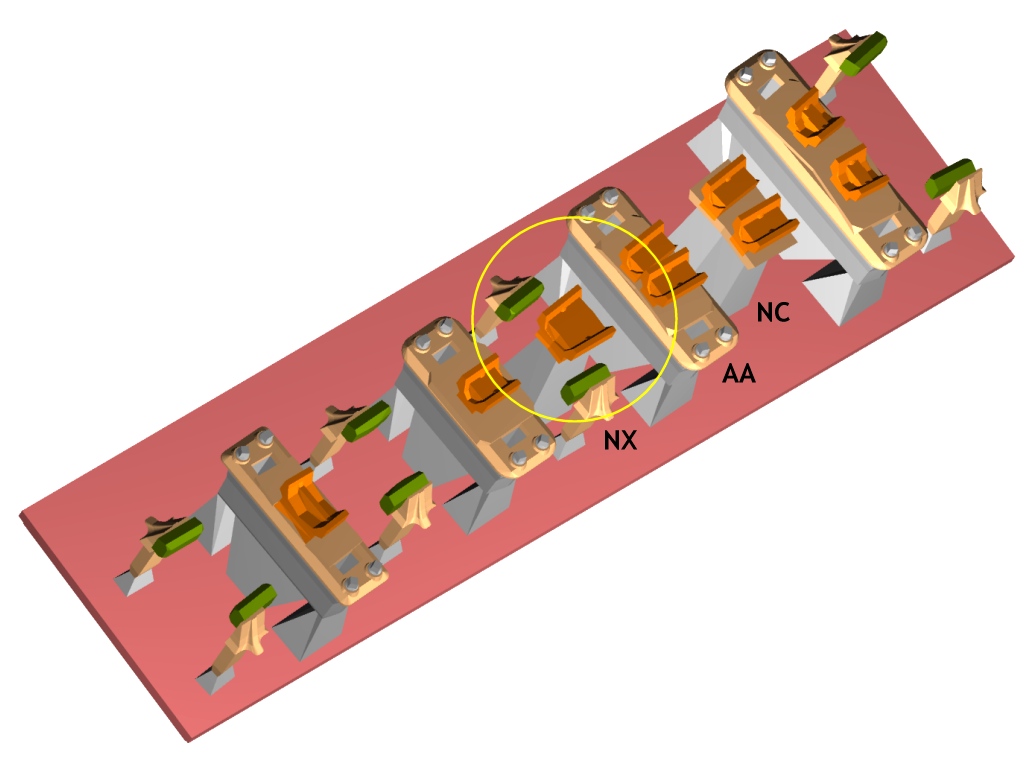
I have at last figured out how not to include the spacer blocks and nose clamps, it is somewhat convoluted in my opinion and perhaps it would be best to have all these options in one place, that place not being a choice from the real menu dropdown. Just my opinion of course.
@Stephen Freeman @James Walters
Hi Stephen,
Thanks for your thoughts. This entire project is still experimental. What you are seeing and using is not necessarily the finished thing. The user interface is being kludged together as I go along -- it's likely to change several times before it is finished.
All the settings in the
real menu are
template-specific. In other words each template can have its own settings. That's why they apply to the control template, in the same way as for the rest of Templot.
The settings on the DXF/STL export dialog apply to
all the templates in the file. You can't have different options there for different templates.
It's important for the chairing options to be template-specific because an entire function not yet done in Templot is to have the chairing showing on the 2D printed paper templates. For those without 3D printers who want to construct pointwork in the traditional way using injection-moulded chairs.
Settings which are template-specific are saved in the BOX file, for track-planning in the usual way. Some settings which are currently on the export dialog may yet get moved to the
real menu and become template-specific, such as the switch drive slider ribs and the dropper wire ridges. Some of them can become template-specific now, when they are modified in the shove timbers and chair heaving functions.
What I suspect you are asking for is an option to export the control template instead of only background templates to the DXF/STL files. That goes back to the beginning of Templot and changing it now would be a massive task. I won't be doing it myself, there is too much else more important to finish, but when I have open-sourced the files in the next few weeks, anyone else (you?) is welcome to have a go at it if they think it is important.
p.s. you didn't need to "figure out" how not to include the spacer blocks and nose clamps. I and others have explained it several times on here, not least in this topic, and all you needed to do was ask.
")
cheers,
Martin.
 Search